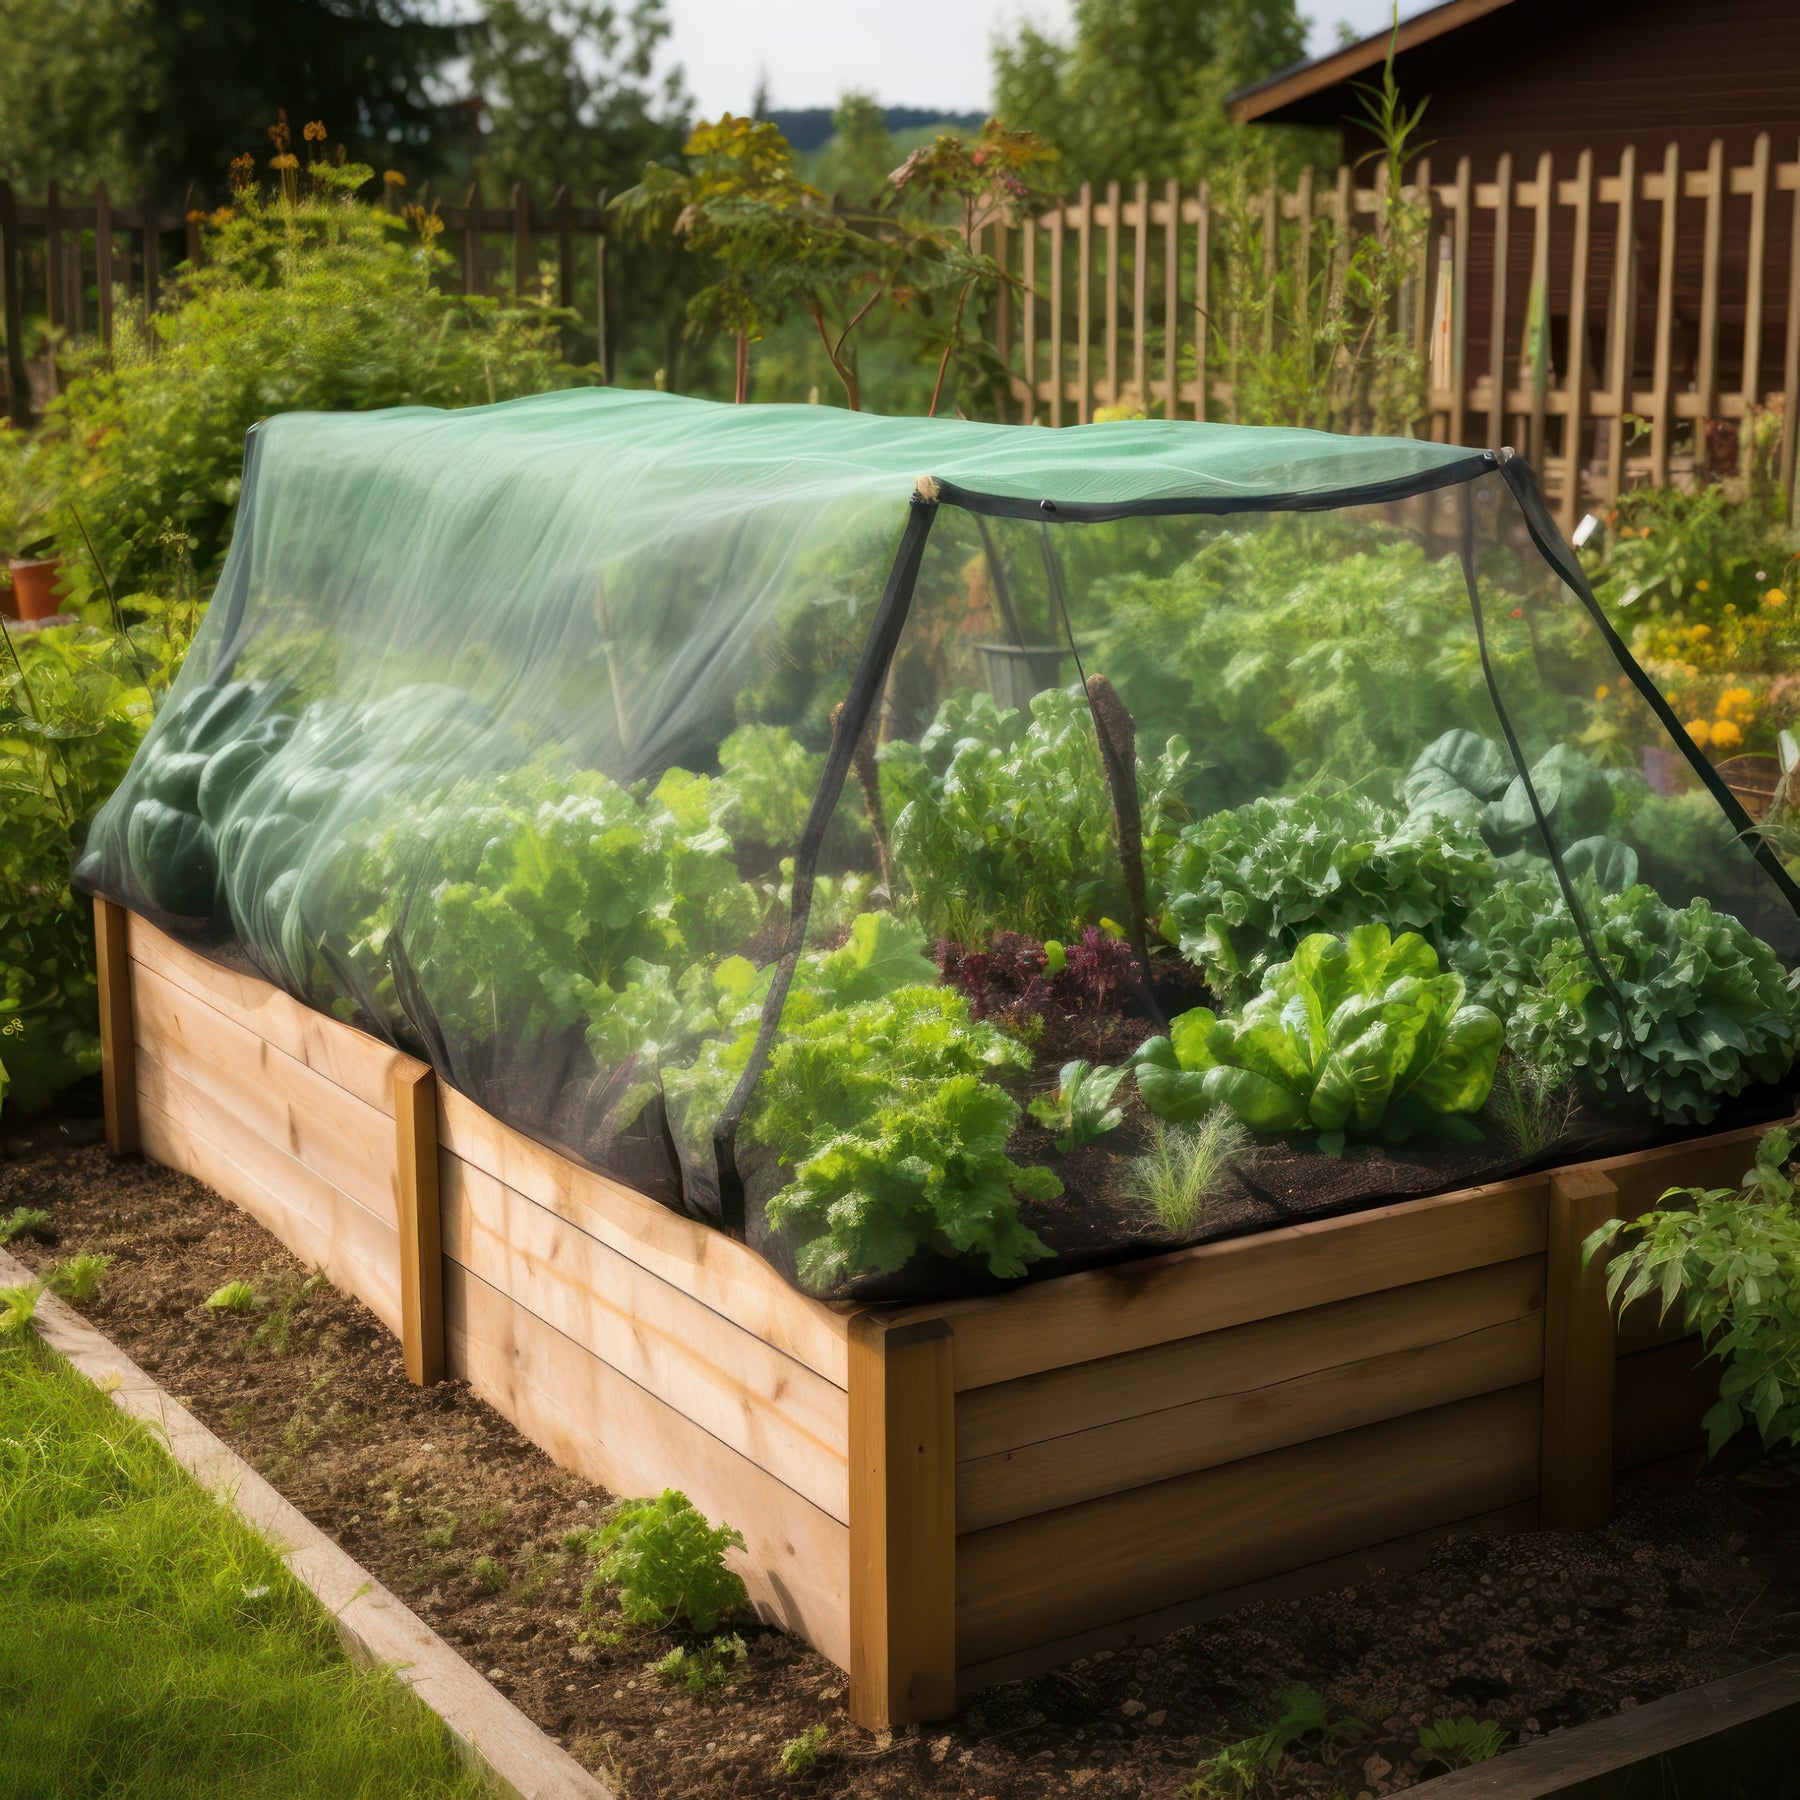
DIY Raised Garden Bed: Shield Your Plants with Mosquito Net Fabric
A flourishing garden is a delight, but pesky insects can quickly turn it into a battleground. One effective way to safeguard your plants while maintaining a healthy environment is by constructing a raised bed using DIY mosquito net fabric. This approach not only shields your greenery from unwanted pests but also fosters a conducive growth atmosphere. Let's dive into the steps of creating your protective haven for plants.
Materials You'll Need:
-
Wood or PVC for the Frame: Choose untreated wood or PVC to build the frame. Cedar or redwood are popular choices for their durability and natural resistance to decay, but make sure they're untreated to prevent any chemicals leaching into the soil. PVC offers a lightweight and affordable alternative.
-
Mosquito Net Fabric: Opt for a high-quality, fine mesh fabric designed to keep insects out while allowing proper air circulation and sunlight penetration. Ensure it's of sufficient size to cover the bed with some extra for securing.
-
Fasteners and Tools: Screws or nails for assembling the frame, a saw for cutting the wood or PVC to desired lengths, a drill, and a staple gun to secure the mosquito net fabric.
Steps to Construct:
-
Frame Assembly: Measure and cut the wood or PVC to create a rectangular frame. Ensure the dimensions suit your garden space and the quantity of plants you intend to grow. Then, assemble the frame by screwing or nailing the pieces together.
-
Preparing the Bed Site: Select a suitable location with adequate sunlight and access to water. Clear the area of any debris or weeds and level the ground if necessary.
-
Installing the Mosquito Net: Lay the mosquito net fabric over the frame, allowing extra fabric to drape down the sides. Use a staple gun to secure the net to the frame, ensuring it's taut and free of any gaps that insects could exploit.
-
Placing the Raised Bed: Position the completed frame in the prepared site. Ensure it's stable and level. Fill the bed with a nutrient-rich soil mix suitable for the plants you intend to grow.
-
Planting: With your raised bed in place, it's time to plant! Choose your favorite vegetables, flowers, or herbs and transplant them into the raised bed. Water them adequately to help them settle into their new environment.
Benefits of Using Mosquito Net Fabric for Protection:
-
Insect Shield: The fine mesh of the net effectively prevents insects from accessing your plants, reducing the need for harmful chemical pesticides.
-
Improved Air Circulation: Unlike solid barriers, the mesh allows for proper air circulation, reducing the risk of fungal diseases and promoting healthier plant growth.
-
Sunlight Penetration: The net fabric allows sunlight to penetrate, essential for photosynthesis and overall plant health.
-
Versatility and Reusability: The setup is versatile and can be dismantled, stored, or reassembled as needed, making it a flexible solution for different growing seasons.
Creating a DIY raised bed with mosquito net fabric is an ingenious way to safeguard your garden from pests while nurturing healthy, thriving plants. It's a simple, cost-effective, and environmentally friendly solution that any gardening enthusiast can execute with ease. Whether you're growing your favorite vegetables or cultivating a vibrant flower garden, this method ensures your greenery thrives while keeping unwanted visitors at bay.
